I won’t exactly call it a mini-course – it’s essentially pictures and names of not very common flowers. But I’m struggling with titles so help me here :-).

I wanted to use this to demonstrate some cool, lesser-known functionality in Excel User Forms. And that is the picture frame control.
Just the way you can use a combo box entry or cell to create a dynamic tool that changes images on click of a button, you can build something similar within an Excel User Form.
This could come in handy if you wanted to get users familiar with images of items. Instead of creating a static document with endless pages containing tables of items and their corresponding images, you create a User Form to do this.
You can also build this on the worksheet directly, and I’ve done posts on this – here and here. But with User Forms, you get the extended functionality of linking to images saved on your workstation, a shared drive, or even on the internet.
So, let’s get started.
Save your images of flowers in a folder on your workstation. You can also save it on a sharepoint folder.

Extract all the flower file names and paste as a list in excel. You can use this Excel hack to automate that task.

When the names come in, they come as just their names with the file extension (e.g. tulip.jpg). We need the full file location (e.g. C:\Flowers\tulip.jpg) to get this to work.
You can convert the names to the full file location by performing a text append operation (using the “&” sign) that connects the “C:\Flowers\” string to the front of the file names. I’ve demonstrated how to do this below:

Now we have the flower names (I extracted those from the file names using the =PROPER() and =LEFT() function), the file names, and the full file location of the flowers, as three columns.
Select all three columns, and name them as a range. I’ve named this range “Flowers”.

Navigate to the Visual Basic Editor, and create a new User Form (Developer > Visual Basic Editor > Insert > UserForm).

Insert the following User Form Controls into the newly created User Form:
- a Combo Box (to select a flower from a drop-down),
- a Label Box (to print the name of the selected flower),
- an Image Control Frame (to pull up the image of the selected flower), and
- a Command Button (to exit the form).

Select the ComboBox and set the RowSource (in Properties) as the name of the list (Flowers). Remember this list has three columns, so the combo box’s dropdown will be list in the first column – which contains just flower names, with no extensions or file source details.

Double-click the ComboBox to program it. This will change the User Form view from the object view to the code view. Type the following code in there:
Private Sub ComboBox1_Change()

On Error Resume Next

myImg = Me.ComboBox1.List(Me.ComboBox1.ListIndex, 2)
Me.Image1.Picture = LoadPicture(myImg)
Me.Label1 = Me.ComboBox1.List(Me.ComboBox1.ListIndex, 0)

End Sub
Double-click the Command Button to program it. This button will be used to close the form, and will have only one line of code: “Unload Me”

Now, the User Form has been set up. Insert a new module in the same workbook, and add a Sub macro (Sub OpenForm) with one line of code (Userform1.Show), to get the user form to open in the worksheet.

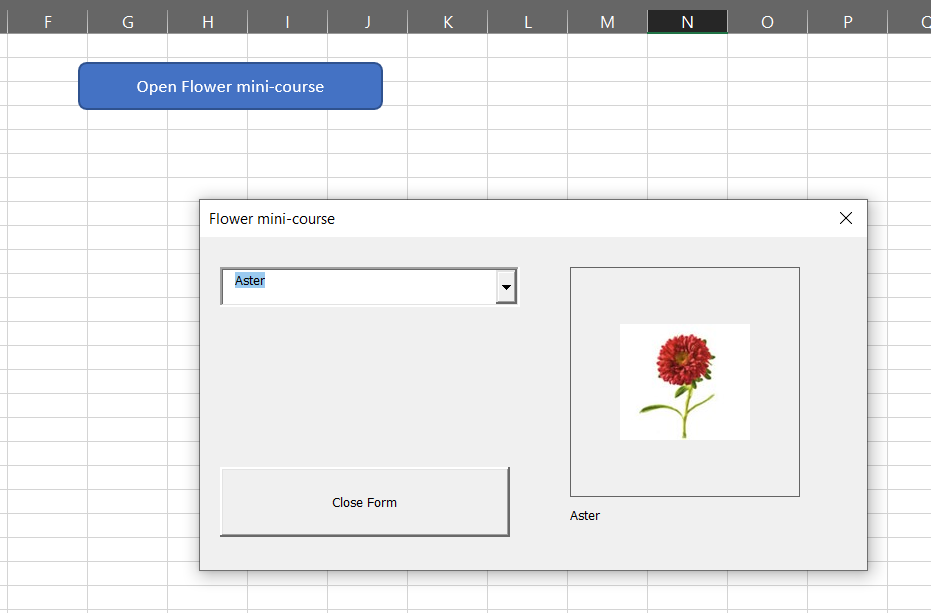
Assign this macro to a button on the worksheet, to open up the User Form and get it to work.

Run the flower mini-course!